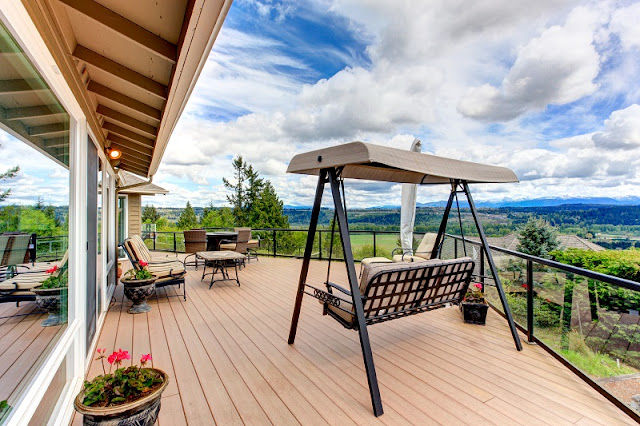
Many house owners like to build decking at their homes, which are actually flat wooden platforms at the level of the ground floor that are attached to the main buildings or created as independent structures. The residents used these decking for outdoor seating and dining purposes, by placing chairs, tables, and couches on these raised platforms. As these are simple structures, the homeowners may choose to build the decking themselves, by using a safe and effective decking kit, containing varieties of important tools for accurate measurements, cutting the woods, and attaching them together.
Major tools included in any decking kit for creating a decking
- Spade is needed for moving the soil aside while preparing the base for making a decking.
- Brick trowel for making holes on the ground or concrete surface, for fixing the wooden base.
- Different kinds of saws are the most important parts of a decking kit. These are used for cutting through the thick pieces of timbers, for preparing them to create the total decking; like jigsaw, circular saw, and panel saw.
- Combi drill for making holes in the wood blocks for placing the screws.
- Measurement tapes for measuring the wood blocks, to turn them into decking of desirable sizes.
- Pencil for marking the measurements on the wooden blocks.
- Coach screws and coach bolts of 8mm or 10mm diameter and varied lengths, according to the requirements.
- Sandpaper for polishing the rough grains of the wood blocks.
- Paints and suitable brushes to cover the wooden decking with coatings of paints.
Steps to follow for creating a decking at home with a decking kit
- First of all, the place where the decking is supposed to be built is cleaned properly and made even, by using the spade and trowel.
- Then measure the length, width, and height of the proposed decking, as per the requirements.
- The base frame is created with accurately four pieces of timber, which are pre-drilled with the drilling machines and attached together with screws of suitable sizes.
- Then this base frame is turned upside down and the required numbers of wooden or concrete joists are attached to the pre-drilled holes with screws. Repeat this procedure for making more base frames, as needed for making the decking.
- The frames of the supporting legs of the decking are made by attaching these adjustable feet to the brackets with the batten screws.
- Next, the four supporting leg frames are attached to the base frames that are turned upside, to fit perfectly on each corner of the decking, with the help of suitable screws chosen from the decking kit.
- It is best to place a strong paver under each foot of the supporting leg frame, so that it does not sink into the soft soil of the garden. It will be a smart move to put the pavers in shallow trenches, to keep the base frame steady at the desired place.
- Then, the base frames are placed one above another and every two base frames are clamped together and finely leveled with the help of a spirit level. Fix the two frames with six screws, two on each side for great stability.
- The height of the decking can be increased or decreased with the help of a spanner and then these legs are finally fixed with locking nuts placed at the top of the feet.
- Finally, fix the wooden panels of the decking above the pile of base frames and safely secure them, without allowing any gap in between these panels. If any extra wooden boards are needed to be fixed, they are secured with screws to the earlier placed ones.
You can paint the whole decking according to the color scheme of the house and the residents can enjoy a great time in the evenings.


0 comments:
Post a Comment